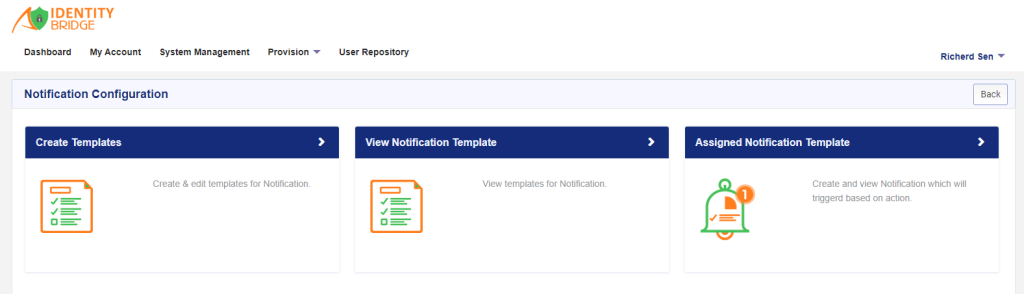
The notification configuration module in Identity Bridge allows to assign, customize, and manage email notifications using templates. This module enables you to set up notifications to be sent to users, managers, or specific recipients regarding various actions performed in the Identity Bridge system.
Here are the key features and capabilities of the notification configuration module:
- Assignment
- Customization
- Template Management
- Action-based Notifications
Steps to create the notification:
- Log in to Identity Bridge.
- Go to System Management.
- Navigate to Notification Configuration.
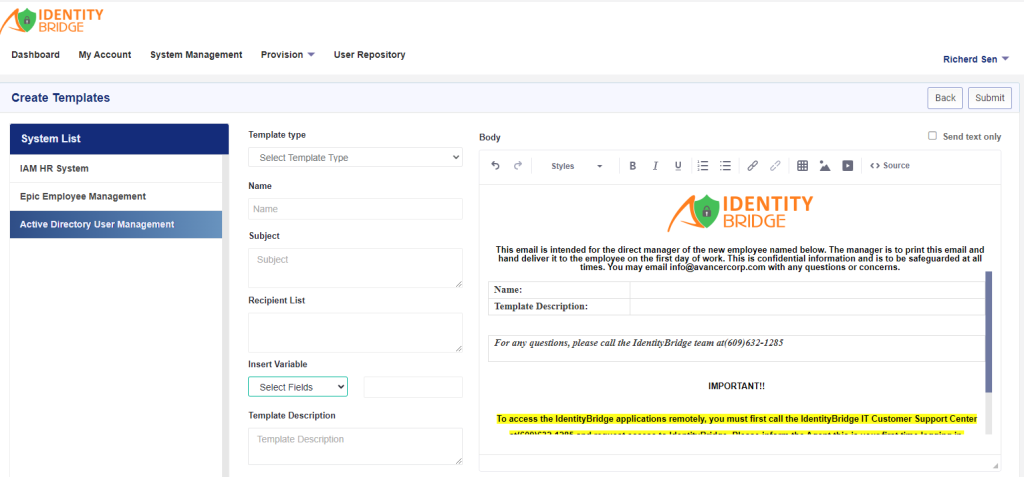
- Select Create Templates.
- Choose the Application Name from the “System List” for which you want to create the template.
- Select the Template Type: Application – Error Notification, Application – Success Notification, or IdentityBridge System Notification.
- Provide a Template name.
- Enter the subject and recipients for the notification. Recipient emails should be comma-separated.
- Provide an appropriate description for the template.
- The Email Body consists of a default template that can be edited, or you can create your own template.
- To insert variables into the template, choose the attribute name from the “Select Fields” dropdown. The corresponding variable name will populate on the right-hand side.
- Copy the variable value and insert it into the email body where required. These variables will be replaced with identity data when Identity Bridge sends the notification email.
- Choose the Email type: HTML or Text. By default, Identity Bridge sends emails in HTML format. If you want to send the email in text format, check the “Send text only” checkbox.
- Click the “Submit” button to save the notification template.
To Edit the notification template
To edit a template in Identity Bridge, you can follow these steps:
- Log in to Identity Bridge.
- Go to System Management.
- Navigate to Notification Configuration.
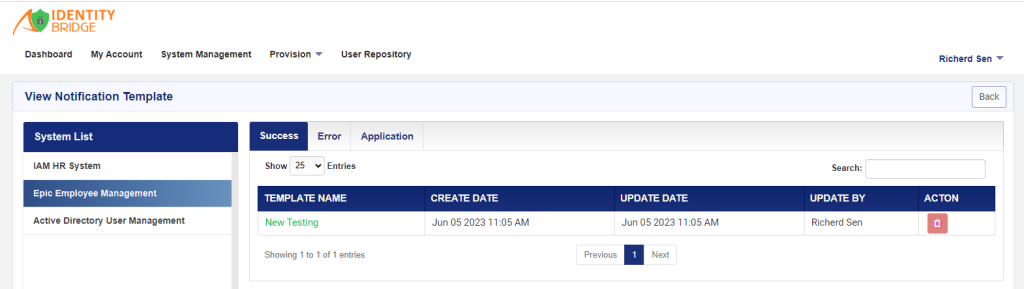
- Select View Notification Template.
- Choose the Application name from the “System List” for which you want to edit the template.
- Once you choose the Application name, the corresponding templates will be populated based on the “template type”.
- Click on the template that you want to edit.
- A new window will open, allowing you to make changes to the template.
- Edit the template according to your requirements.
- After making the necessary changes, save the template.
Assign notification template
To assign a notification template to a specific function in Identity Bridge, you can follow these steps:
- Log in to Identity Bridge.
- Go to System Management.
- Navigate to Notification Configuration.
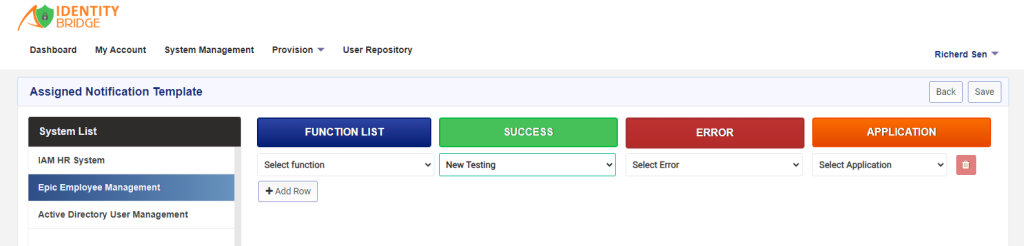
- Select Assigned Notification Template.
- Choose the Application Name from the “System List” for which you want to assign the template.
- Once you choose the Application name, a Function list related to the application will be populated as a dropdown.
- Select the desired function from the dropdown.
- Along with the function, you will see options for success, error, and application templates.
- Assign the specific templates to the selected function based on its execution result.
- If the function executes successfully, choose the success template.
- If the function encounters an error, choose the error template.
- If you want to assign a general application template, choose the application template.
- Save the assignment.
Note : Template Type “IdentityBridge System Notification” is used internally in Identity Bridge to send notification mails. e.g., password.