Application XML Upload
Defining Application application is the first item to be configured to start utilizing Identity Bridge capabilities.
Follow below steps to upload Application XML which defines the Application/target system in Identity Bridge
- Login to Identity Bridge.
- Go to Configuration Hub.
- Go to Configure Application.
- Go to Un-Deployed Applications tab.
- Click on “Add New System”.

- Click on “Upload XML File” button. This will open a pop-up window. Choose the XML file and click on upload.


- As the “XML File” gets uploaded, it will show a success message “File Uploaded Successfully”.
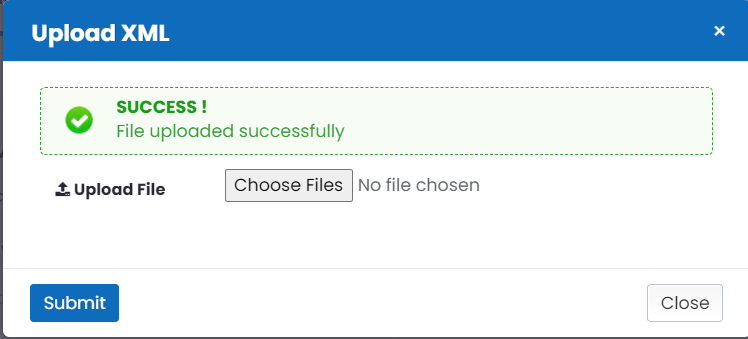
- Click on “Close” tab.
- Click on “Back” button, this will redirect you to Configure Source page.
- Go to Un-Deployed Applications tab again. The uploaded application should be present here.
- Similarly, perform the above steps to onboard other applications as well in Identity Bridge.
- Once the Source and Target applications get onboarded into Identity Bridge, they will be present in un-deployed state.
- Now click on the edit option on the application tile. This will open a new window with application details.

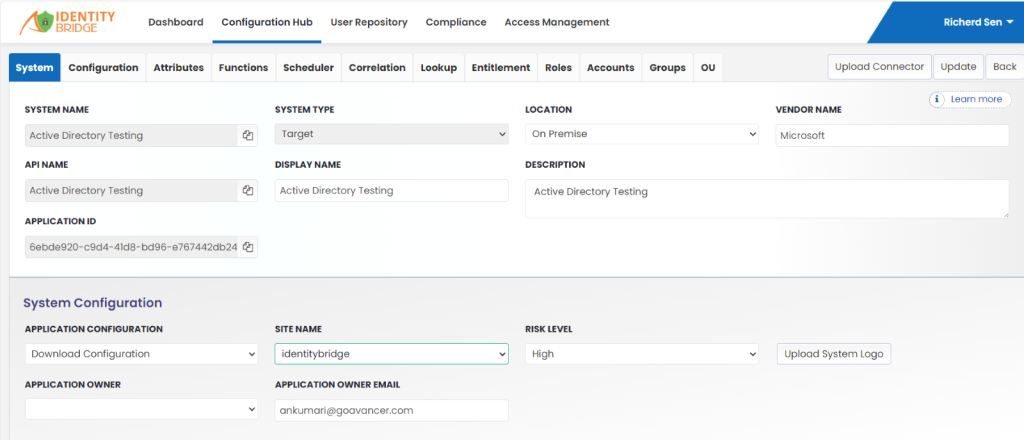
- Scroll down and provide the connection details and update the other details as required.
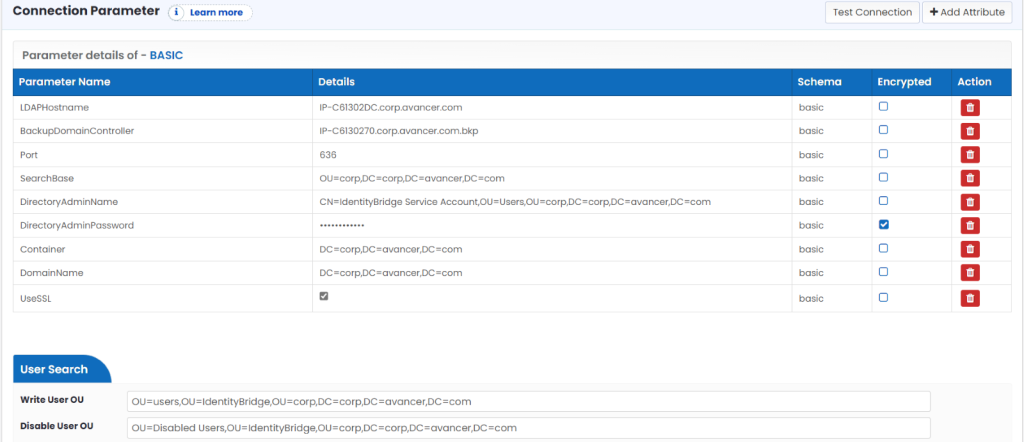
- Click on “Update” button to save the details.
- Next, click on “Upload Connector” and upload the connector XML.
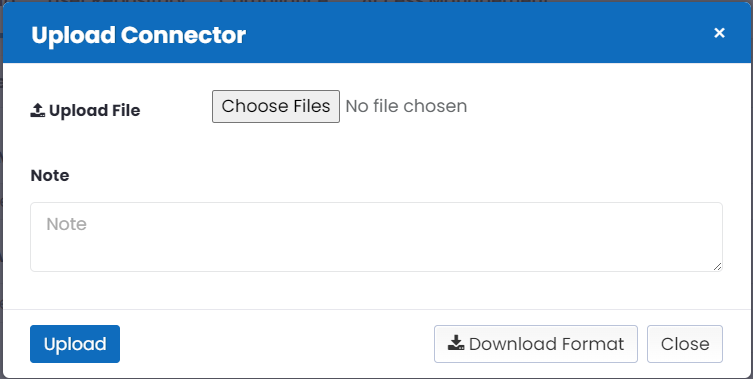
- To verify the connector upload, refresh the page and go to Configuration tab, scroll down, connector details should be visible under Connector Details.

- User can perform the “Test Connection” once the Connector and Connection details are saved.

- Perform the same update operation for other application as well.
- Once the applications are updated successfully, go to Un-Deployed Applications tab and click the “Deploy” option on the application tile.
- Again, click on Configuration Hub.
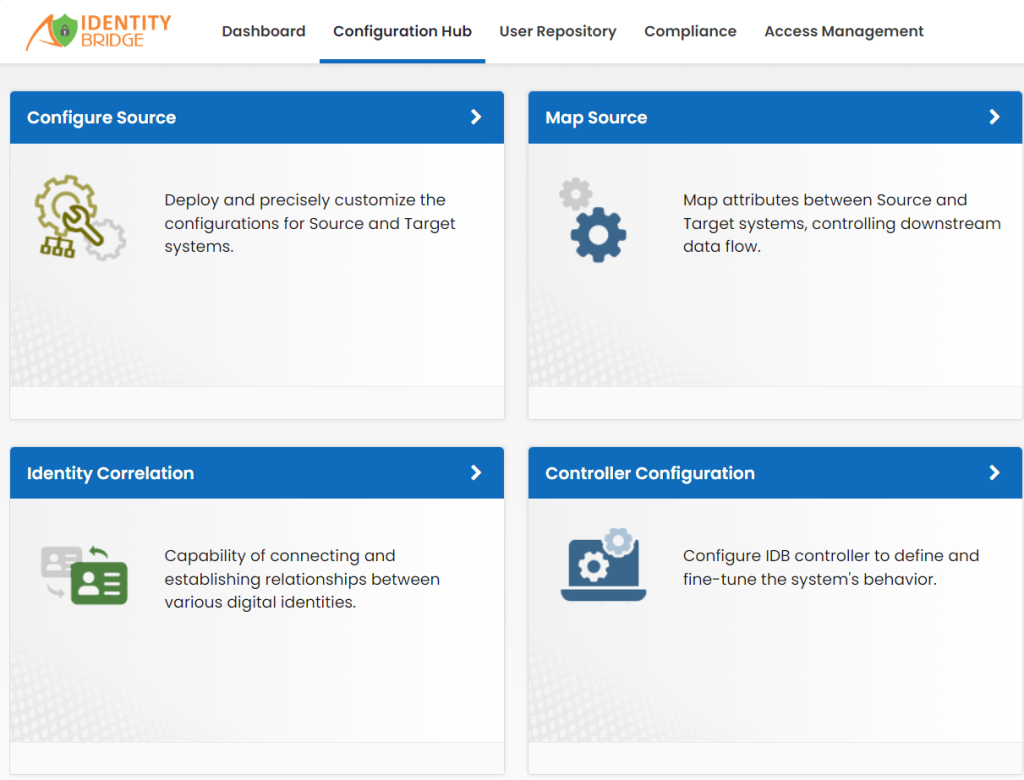
- Go to Controller Configuration.
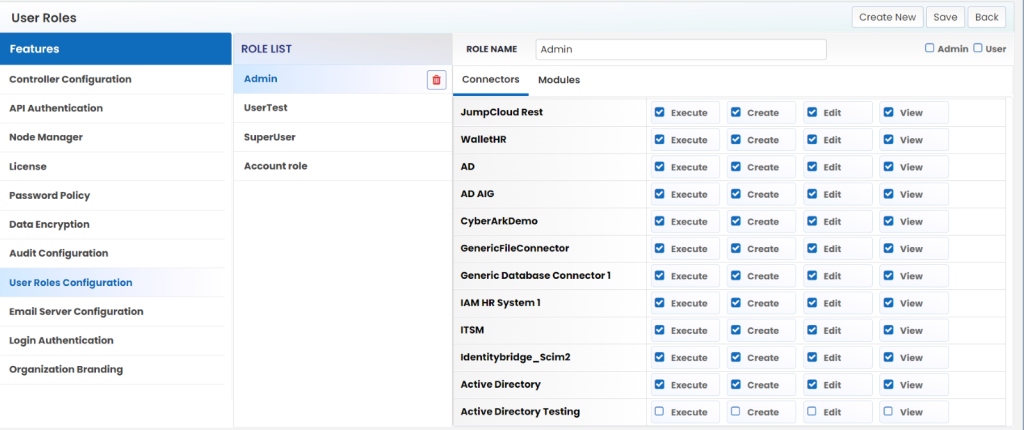
- In ‘Features’ table, select Users Role Configuration.
- In Role List, select “Admin”
- Under the Connectors section, the deployed application name should be there.
- Select all the Check box for that application.
- Click on save.
- Click Back button.
- Again go to Configure Source.
- Go to Deployed Source/Target tab.
- Your Application will be visible.