Mapping is necessary for downstream flow of data during provisioning to Active Directory Management. Following is the mapping required in Identity Bridge for user provisioning.
| Source System Attributes | Active Directory Management Attributes |
| AccountType | accountType |
| AssignGroup | AssignGroup |
| Company | company |
| Country | c |
| DepartmentName | department |
| Description | description |
| Division | division |
| ExternalId | employeeID |
| Firstname | givenName |
| JobCode | jobID |
| Lastname | sn |
| Locality | l |
| Site | site |
| UserName | SAMAccountName |
| UserType | userType |
| EmployeeType | employeeType |
Follow the below steps to map the attributes in Identity Bridge.
- Login to Identity Bridge.
- Go to Configuration Hub.
- Go to Map Source.
- Click on ‘Custom Mapping’ button.

- In the next screen select the required Source System from drop down and Target System as Active Directory Management.
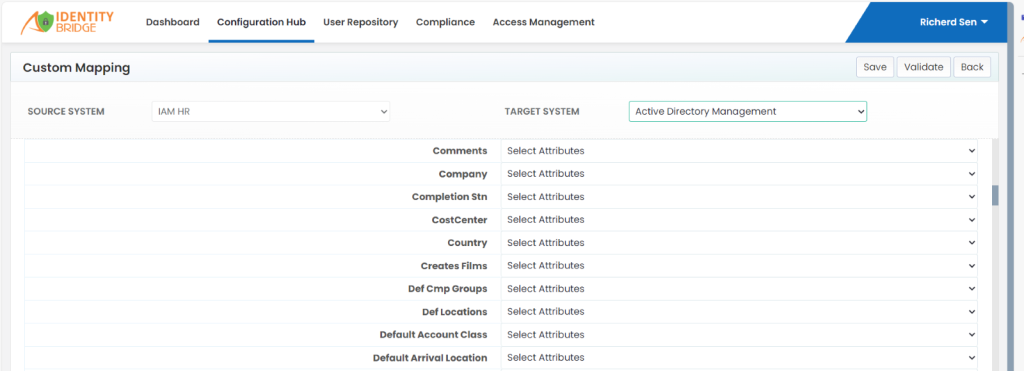
- Select the corresponding Active Directory Management attribute as per the above table for the respective Source System attribute.
- Once all the required attributes have been selected, click on the Save button above to save the mapping.
- Alternatively, we can upload the mapping in excel format from the Map Source screen. The format of the mapping in the excel file is same as the table given above where the column headers will be the name of the Source System and Target System as defined in the Application configuration in Identity Bridge.
- Click the ‘Download Format’ button.
- Enter all the required attributes needed.


- Click on ‘Upload Mapping’ button.

- Once the file is successfully uploaded, close the tab.
- Refresh the page.