The Roles Configuration module in Identity Bridge enables administrators to assign templates to identities and manage the values defined within those templates based on certain conditions. This allows for the automated assignment of values to identities, streamlining the management process.
To create Role configuration in Identity Bridge, we have 2 methods
Manual UI Method
• Log in to Identity Bridge using your credentials.
• Navigate to the Access Management.
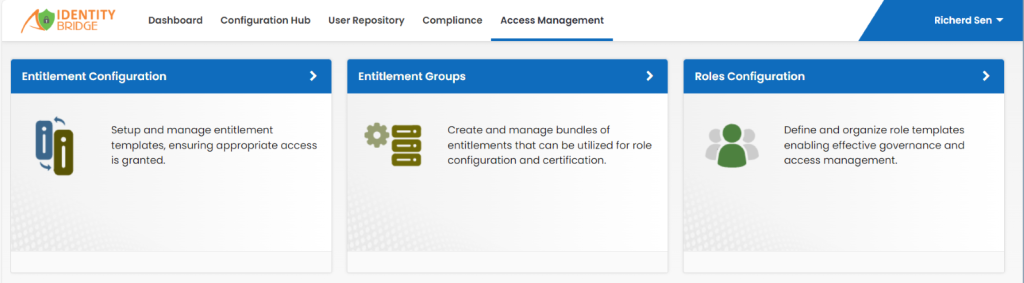
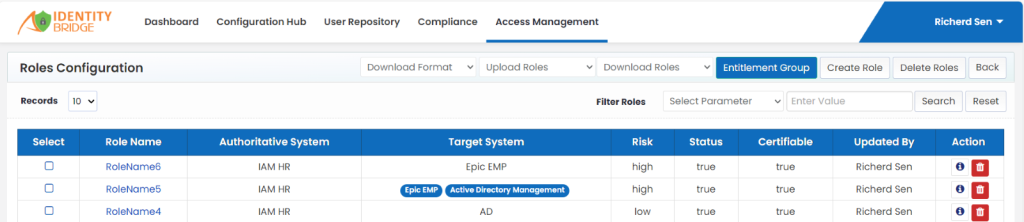
• Find and select the Roles Configuration option.
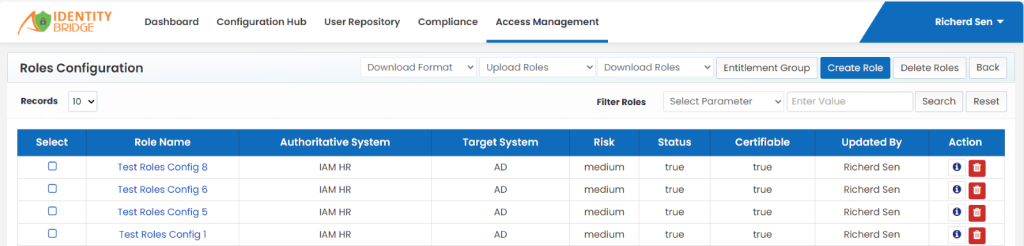
• Click on the “Create Role” button in the user interface.
• Fill in the required fields such as role name, email ID, and description.
• Select the role type, risk, status, and certifiable options.
• Set the role assignment period and select the authoritative system.
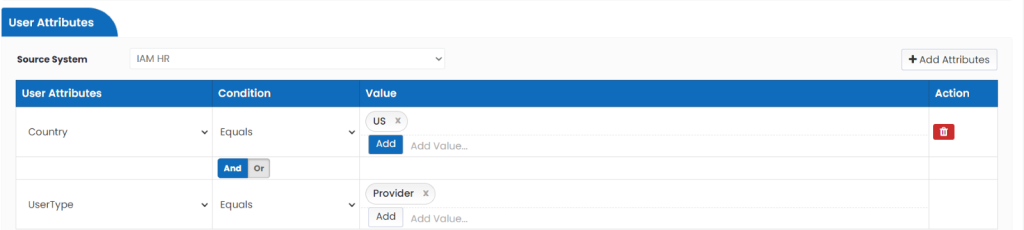
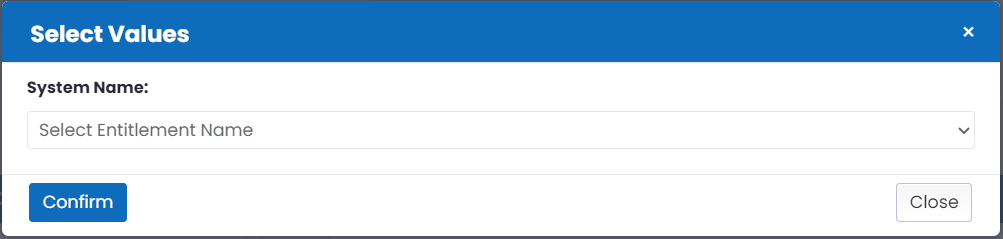
• Select the user attribute, set the required conditions for that attribute and enter the value.
• User can select multiple attributes by using the AND and OR conditions also can enter multiple values also.
• Select the target system and click on “Add Entitlement.”

• Choose the required templates for the role.
• To add more than one Target Application, click on ‘Add Target Application’.
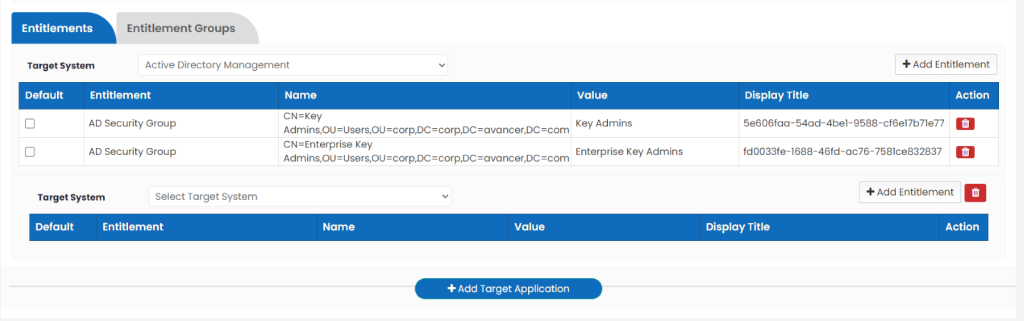
• Select the target system and click on “Add Entitlement.”
• Click on “Save” to save the role configuration.
CSV File Upload Method
• Log in to Identity Bridge using your credentials.
• Navigate to the Access Management section.
• Find and select the Roles Configuration option.
• Click on ‘Download Format’ and choose ‘Version 1’.

• Prepare a CSV file with the necessary role details, including role name, email ID, description, role type, risk, status, certifiable options, role assignment period, authoritative system, user attribute, conditions, target system, and entitlements.
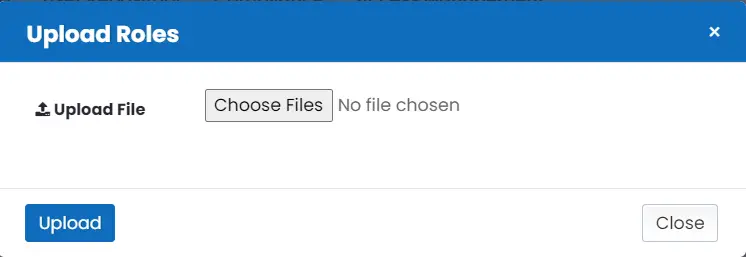
• Click on ‘Upload Roles ‘, choose ‘Version 1’

• Choose the CSV File and Upload.
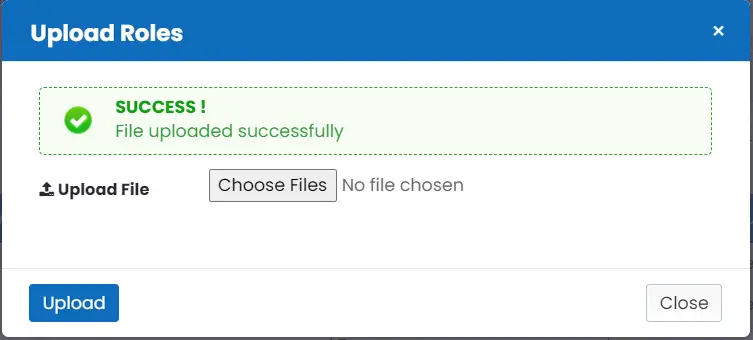
• Once the file is uploaded successfully, click on ‘Close’ button and refresh the page.
• Repeat above steps for ‘Version 2’.


• Once the file is uploaded successfully, click on ‘Close’ button and refresh the page.
• Click on ‘Entitlement Group’ to verify the roles created in ‘Version 2’.
Note : ‘Version 1’, Entitlements gets uploaded and in ‘Version 2’, ‘Entitlement Group’ gets uploaded, also there is validation that prevents the user to save duplicate Attributes and Templates names.
• Roles can be also downloaded and deleted.
• Click on ‘Download Roles’ button and choose ‘Version 1’ or ‘Version 2’.

• Selected ‘Version’ roles will be downloaded.
• Select roles that you want to delete.
• Click on ‘Delete Roles’ button to delete selected roles.
Steps to preview user
- Click on ‘i’ ikon under ‘Action’ next to Role Name.
- It will take you to View Role Insite page.
- Available users will be there under Users tab.
- Click on Select Attribute dropdown and select Attribute.
- Click Search Button.

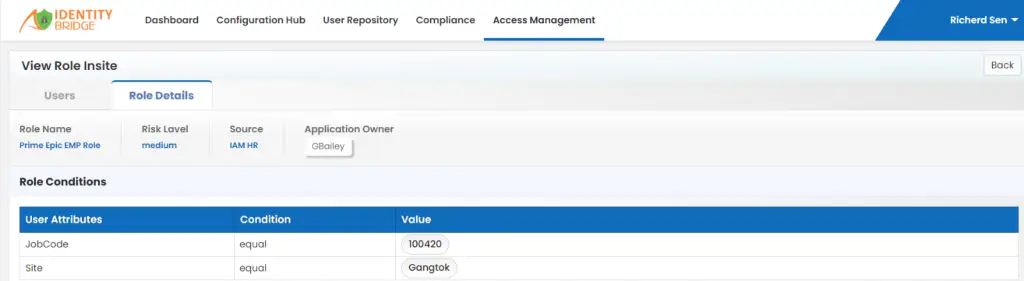
- For Role Details, Click on Role Details tab.
- Details of the roles like Role Name, Risk Level, Source, Application owner and Role conditions can be seen.