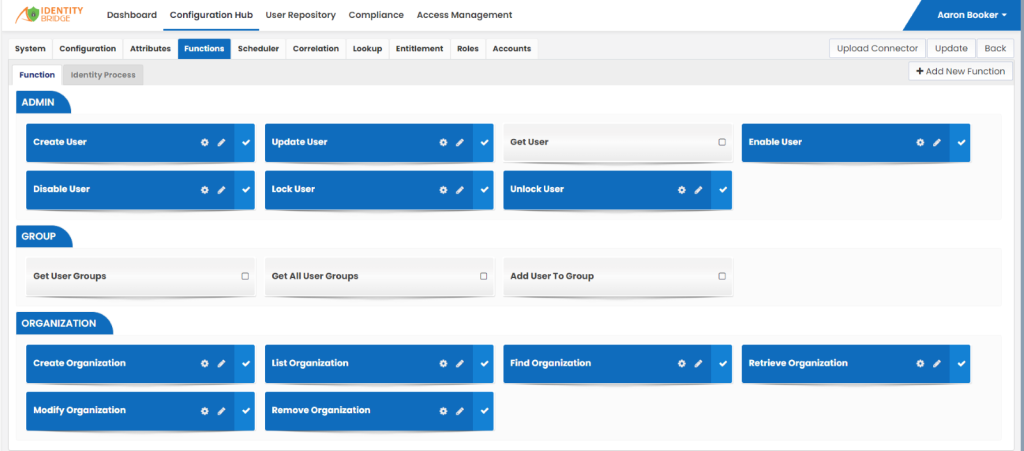
Follow the below steps to configure the functions.
- Login to Identity Bridge.
- Go to Configuration Hub.
- Go to Configure Source.
- On the Active Directory Management employee tile click on the edit button.
- Click on the Functions tab.
- Click on the ‘Add New Function’ Button.
This opens a new window ‘Add Functions & Group’.

- Then click dropdown arrow and ‘select Group’.
- You can click ‘Add Group’ if you want to add a group name.
- Then select ‘Function Name’, user can select more than one Function Name by clicking ‘Add New Function’ button.
- Click Save button.
- Click on Update Button.

Creating Identity Process
Once the functions have been discovered, it’s required to create business processes or actions to be performed during user provisioning process using the Identity Bridge functions. These processes are called as Identity Process, which are chain of functions that can be configured to accomplish the requisite user provisioning process as per business logic. We can emulate different provisioning life cycle processes like onboarding, termination, de-activation etc. by creating separate Identity Processes for each provisioning process. Following example illustrates the process of creating an Identity Process for onboarding a user account.
- Login to Identity Bridge.
- Go to Configuration Hub.
- Go to Configure Source.
- On the Active Directory Management tile click on the edit button.
- Click on the Functions tab.
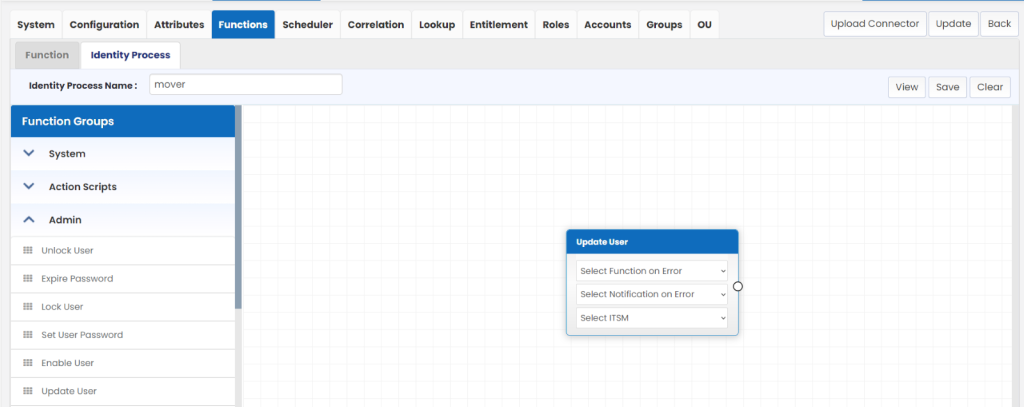
- Select the Identity Process tab and click on the Create Button.

- Enter a name for the Identity Process, ‘mover’ is the name used in this example.

- From the left pane Admin, select the Update user function.

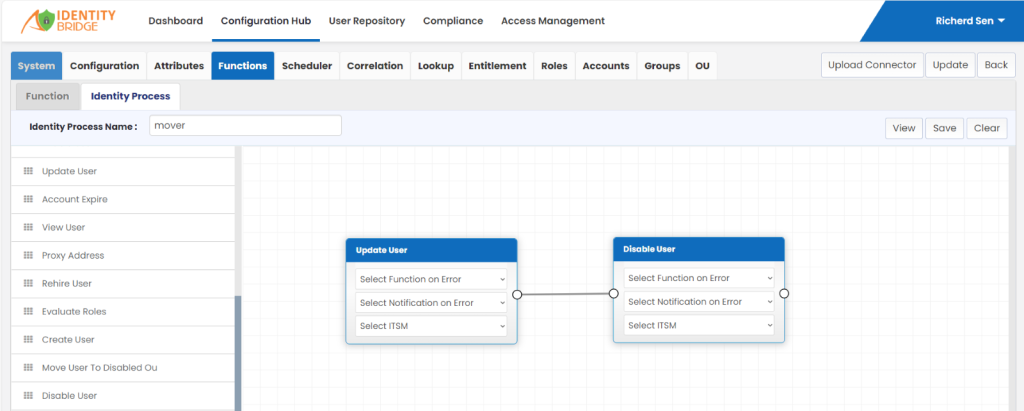
- Next select the Disable User function from left hand side and drag and drop on the page next to the Update user function.
- Join the two functions by clicking on the left-hand side node of Update user and dragging the line to right-hand side node of Disable user function.
- This creates a chain of functions to be executed upon calling the ‘mover’ Identity Process in the order defined, Update user first then Disable user in this example.

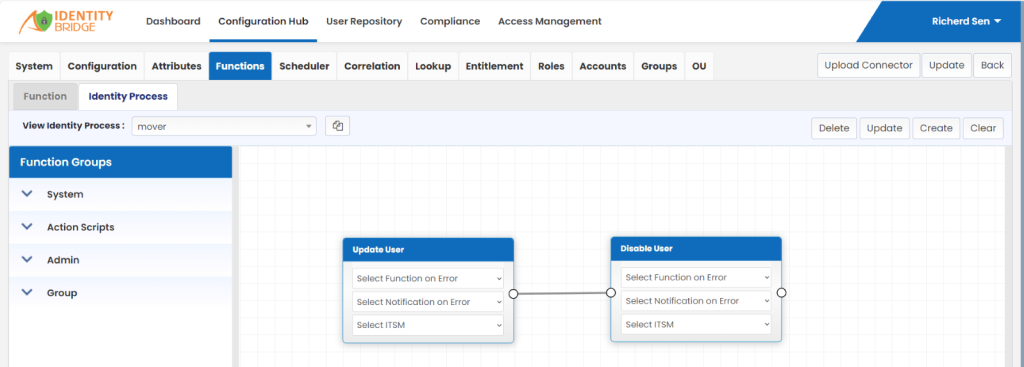
- Click on the ‘Save’ button above to save the Identity Process. Created Identity Process can be viewed by clicking the dropdown arrow next to View Identity Process.

- Click on ‘Update’ button, if you want to edit the existing Identity Process. Also Identity Process can be deleted by clicking the ‘Delete’ button.
- To delete a particular function only, select that function and right click the mouse, click on ‘X’ mark.

- You can also clear the page by clicking on ‘Clear’ button and then update the existing Identity Process.