Custom attributes refer to additional fields that are defined by users or developers to meet specific requirements or preferences beyond the standard attributes provided by that application.
Follow below steps to create attributes for EPIC Emp
- Login to Identity Bridge.
- Go to Configuration Hub.
- Go to Configure Source.
- On the EPIC Emp tile click on the edit button.
- Click on the Attributes tab.
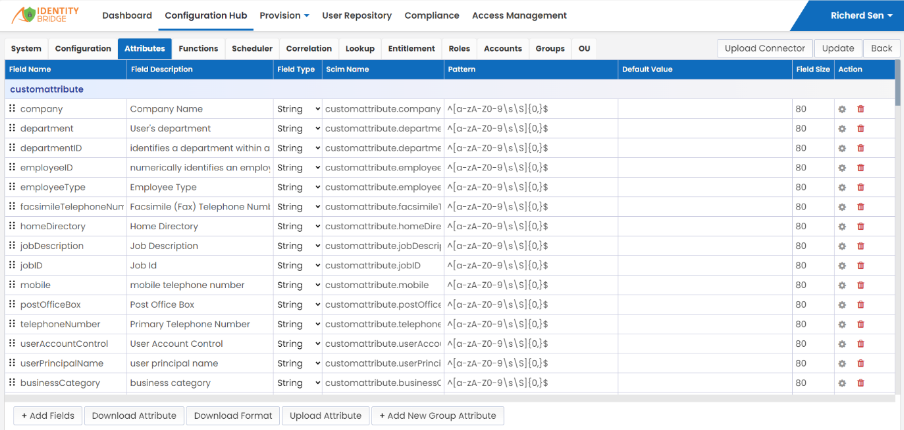
To Add Attributes
- Login to Identity Bridge.
- Go to Configuration Hub.
- Go to Configure Source.
- On the EPIC Emp tile click on the edit button.
- Click on the Attributes tab.
- Click on Add Fields Button
- Enter Field name and Field Description
- Click Update button.
To Delete Attributes
- Login to Identity Bridge.
- Go to Configuration Hub.
- Go to Configure Source.
- On the Epic EMP tile click on the edit button.
- Click on the Attributes tab.
- Click on Bin Icon next to the Attribute under Action Tab
- Click Update button.
- Attribute will be deleted.
To Upload Attributes
- Login to Identity Bridge.
- Go to Configuration Hub.
- Go to Configure Source.
- On the Epic EMP tile click on the edit button.
- Click on the Attributes tab.
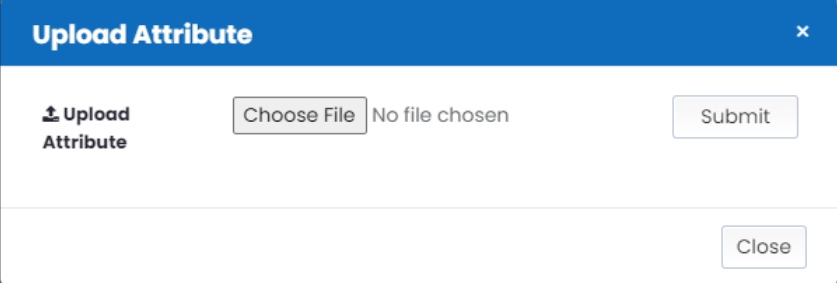
- Click on Upload Attribute Tab
- Upload Attribute window will open
- Then choose the file
- Click on Submit Button
- Click on Update Button
To Download Attribute
- Login to Identity Bridge.
- Go to Configuration Hub.
- Go to Configure Source.
- On the Epic EMP tile click on the edit button.
- Click on the Attributes tab.
- Click on Download Attribute Tab
- Attributes will be downloaded.